The phone call came on a bitter February morning. My friend Colin, sounding utterly defeated, explained how he’d just discovered his motorhome’s entire water system had been destroyed by frost. “Everything’s burst,” he said. “The pipes, the taps, even the hot water tank. The repair shop says it’ll cost over £3,000 to fix.”
Colin had stored his motorhome properly – it was in a secure compound, covered, and he’d even remembered to disconnect the battery. But he’d forgotten one crucial step: winterising the water system. Three months of sub-zero temperatures had turned the water in his pipes into ice, and ice, as physics will cruelly remind you, expands with devastating force.
That conversation prompted me to share what I’ve learned about proper winterising over fifteen years of UK motorhoming. These five steps have saved me thousands of pounds and countless headaches.
Why Winterising Matters in the UK
Our British climate might not seem as harsh as Scandinavia or Canada, but it’s the unpredictability that catches motorhome owners out. We’ll have mild spells that lull you into complacency, followed by sudden cold snaps that can drop temperatures well below freezing for days.
Water expands by roughly 9% when it freezes, creating pressures that no domestic plumbing system can withstand. I’ve seen burst pipes, cracked pumps, split tanks, and destroyed taps – all because owners thought “it won’t get that cold this year.”
Even heated storage doesn’t guarantee protection. My neighbour Iain learned this when the heating failed in his storage facility during a particularly harsh January. His motorhome had been sitting in what he thought was a temperature-controlled environment, but when the heating system packed up over a weekend, three days of -8°C temperatures did £2,500 worth of damage.
The frustrating thing about frost damage is that it’s entirely preventable. Unlike wear and tear or accident damage, frost damage only occurs when proper winterising procedures haven’t been followed. Every repair bill represents a completely avoidable expense.
Step 1: Drain Down Water Systems
Draining your water system properly is the most critical step, and it’s more involved than simply opening a tap. Water lurks in unexpected places throughout your motorhome’s plumbing, and finding every drop requires a systematic approach.
Start with the obvious: empty the fresh water tank completely. Most motorhomes have a dedicated drain valve, but don’t rely on this alone. I always follow up by running the water pump until it’s sucking air, ensuring every drop is out of the tank and associated pipework.
Next, tackle the hot water system. This is where many people make costly mistakes. Simply draining the tank isn’t enough – you need to drain the pipework too. Turn off the gas and electricity to the hot water heater, then open the hot taps and the hot water drain valve simultaneously. On many systems, you’ll need to remove the pressure relief valve to ensure complete drainage.
The waste water system needs attention too. Empty the grey waste tank and pour a bucket of water through each sink and shower drain to flush out any remaining water in the traps. Don’t forget the shower mixer – these often retain water in their internal mechanisms.
Toilet systems require special consideration. Empty the cassette completely, then pour a small amount of antifreeze into the bowl and flush it through. This protects the pump and any residual water in the pipework.
Pay particular attention to the water heater. Truma and Alde systems have specific draining procedures detailed in their manuals. With my Truma system, I have to remove both the drain plug and the pressure relief valve to ensure complete drainage. It’s fiddly work, but replacing a burst heat exchanger costs over £1,000.
Step 2: Protect Pipes and Tanks
Once you’ve drained everything, the next step is protecting components that can’t be completely emptied. Even the most thorough draining leaves small amounts of water in pipe bends, pump chambers, and system components.
Food-grade antifreeze is your friend here, but use it properly. Don’t just pour it into the fresh water tank and hope for the best. Instead, use it strategically in components that can’t be completely drained.
I add a small amount to the toilet flush tank to protect the pump mechanism. The shower mixer gets a cupful to protect its internal valves. Any external shower connections get a splash of antifreeze before being properly covered.
For the fresh water system, some people prefer to use antifreeze throughout, but I find thorough draining more effective and less messy. If you do choose the antifreeze route, make sure you use the proper food-grade type – automotive antifreeze is toxic and will contaminate your water system.
External components need special attention. Drain taps, external shower connections, and any outside water points are particularly vulnerable because they’re exposed to wind chill. I wrap these in insulation after treating them with antifreeze.
Don’t forget about the water pump itself. Most modern pumps are self-draining when the system is emptied, but older pumps may retain water in their chambers. Check your manual – some pumps have specific winterising procedures.
Step 3: Battery Care & Maintenance
A flat battery in spring is frustrating, but battery damage from poor winter storage can be expensive. Leisure batteries don’t like being left discharged for months, and the cold weather compounds the problem.
Remove the battery if possible and store it somewhere frost-free. A garage, utility room, or even under the stairs is perfect. If you can’t remove it, at least disconnect the terminals to prevent parasitic drain from clocks, alarms, and other devices. If your insurance policy stipulates that you have a working alarm, dont disconnect your battery!
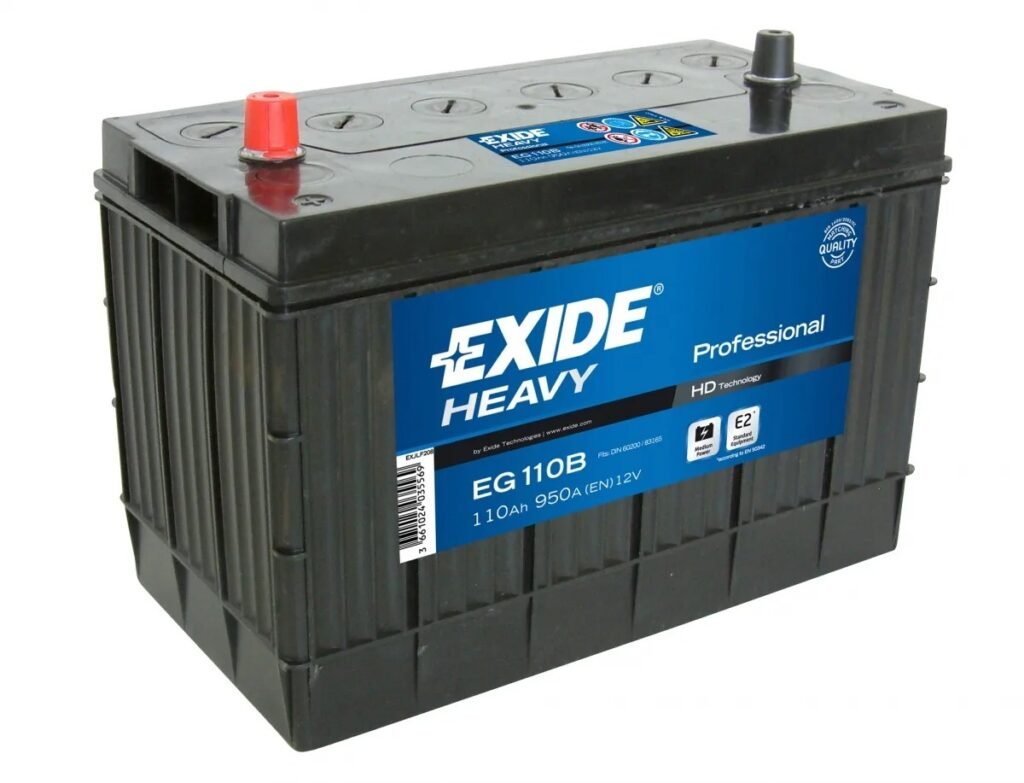
Battery maintenance during storage is crucial. Lead-acid batteries naturally discharge over time, and if they’re allowed to go completely flat, permanent damage occurs. I use a smart charger that monitors the battery and provides maintenance charging as needed.
Lithium batteries have different requirements. Most modern lithium systems have built-in battery management systems that protect against over-discharge, but they still benefit from being stored with some charge and kept frost-free.
Check the battery terminals for corrosion before storage. Clean them with a wire brush and apply a thin layer of petroleum jelly to prevent corrosion during storage. It’s amazing how much damage a few months of damp storage can do to battery connections.
Solar panels complicate winter storage if you’re leaving the battery connected. In low winter light, solar panels often don’t generate enough power to maintain the battery, but they can prevent it from going into deep sleep mode. Consider disconnecting solar panels during storage or using a solar charge controller with a winter mode.
Step 4: Damp Prevention
Damp is the silent destroyer of motorhomes. While you’re focused on preventing frost damage, moisture can be quietly causing thousands of pounds worth of damage to your interior, electronics, and structure.
Ventilation is crucial, even during storage. I leave roof vents slightly open and use vent covers to keep rain out while allowing air circulation. Stagnant air inside a closed motorhome becomes saturated with moisture, leading to condensation and mould growth.
Moisture absorbers work, but they need to be industrial strength for motorhome use. Those small domestic dehumidifier crystals aren’t sufficient for a space the size of a motorhome. If necessary, use large container dehumidifiers designed for boats and caravans, checking and emptying them monthly.
Remove anything that can harbour moisture or provide food for mould. Soft furnishings, curtains, and bedding should be taken home and stored in dry conditions. Even if they seem dry when you pack up, they’ll absorb moisture during storage.
Clean thoroughly before storage. Food residues, spilled drinks, and general grime provide perfect breeding grounds for mould and bacteria. Pay particular attention to the fridge, which can develop horrific smells if not properly cleaned and left open.
Consider using a desiccant system designed for motorhomes. These are more effective than crystal dehumidifiers and don’t require emptying. Some systems include indicators that change colour when they need regenerating.
Leave internal doors and cupboards open to promote air circulation. Trapped air in closed spaces becomes stagnant and humid quickly. Even leaving doors slightly ajar makes a significant difference.
Pro Tip: We have an EHU at home, so we use an oil filled radiator with the thermostat set to 7 degrees. We spend an hour or two in our motorhome every couple of weeks. We turn the heater up and take a pot of coffee with us. It’s a great opportunity to relax and it ensures we spot any potential problems before they become disasters.
Step 5: Tyre & Exterior Care
Tyres suffer during long periods of static storage, developing flat spots where they contact the ground. The weight of the motorhome causes the tyre to deform slightly, and over months, this can become permanent.
Move your motorhome periodically if possible – even just a few metres every month helps prevent flat spots. If you can’t move it, consider using tyre savers – curved ramps that support the tyre’s natural shape during storage.
Check tyre pressures before storage and inflate to the maximum recommended pressure. Tyres naturally lose pressure over time, and under-inflated tyres are more susceptible to flat-spotting and sidewall damage.
Cover the tyres if they’re exposed to sunlight during storage. UV radiation degrades rubber compounds, causing cracking and premature aging. Even in winter, UV exposure on bright days can cause damage over time.
The exterior needs protection too. A good wash and wax before storage protects paintwork and seals. Pay particular attention to the roof – standing water and debris can cause serious damage over winter months.
Clean the roof thoroughly and check all seals. Water ingress during winter storage can cause extensive damage that might not be discovered until spring. I use a leaf blower to clear debris from roof channels and around vents.
Apply fresh sealant to any suspect areas. It’s much easier to prevent water ingress than to repair the damage it causes. Window seals, roof lights, and vent connections are particular vulnerability points.
Bonus Tip: Insurance & Storage Checks
Review your insurance policy before winter storage. Some policies have specific requirements for laid-up vehicles, and failing to meet these could invalidate your cover. Most insurers require notification if the vehicle will be unused for extended periods.
Storage security matters for insurance purposes. Many policies require specific security measures for vehicles stored away from your home. Wheel clamps, hitch locks, and tracking devices can reduce premiums and improve security.
Check with your storage facility about their procedures. Do they have access if there’s an emergency? Are they monitoring for issues like building heating failures? Some facilities offer winterising services, which can be cost-effective if you’re not confident doing it yourself.
Document the condition of your motorhome before storage with photographs. If problems develop during storage, you’ll have evidence of the pre-storage condition for insurance purposes.
Keep records of your winterising procedures. Insurance companies look more favourably on claims where owners can demonstrate they’ve followed proper storage procedures.
Your Complete Winterising Checklist
Proper winterising isn’t a single afternoon’s work – it’s a systematic process that protects your investment through the harshest months. The time you spend preparing your motorhome for winter storage pays dividends in spring when you’re back on the road rather than waiting for expensive repairs.
Remember Colin’s £3,000 repair bill? It came from skipping just one of these steps. Every step matters, and cutting corners invariably leads to problems. But follow this process religiously, and you’ll be back touring worry-free when the warmer weather returns.
The investment in proper winterising – whether in time, materials, or professional services – is tiny compared to the cost of frost damage, damp problems, or battery replacement. Your spring self will thank you for the effort you put in now.
")
")

")

